Throwing the form and Trimming
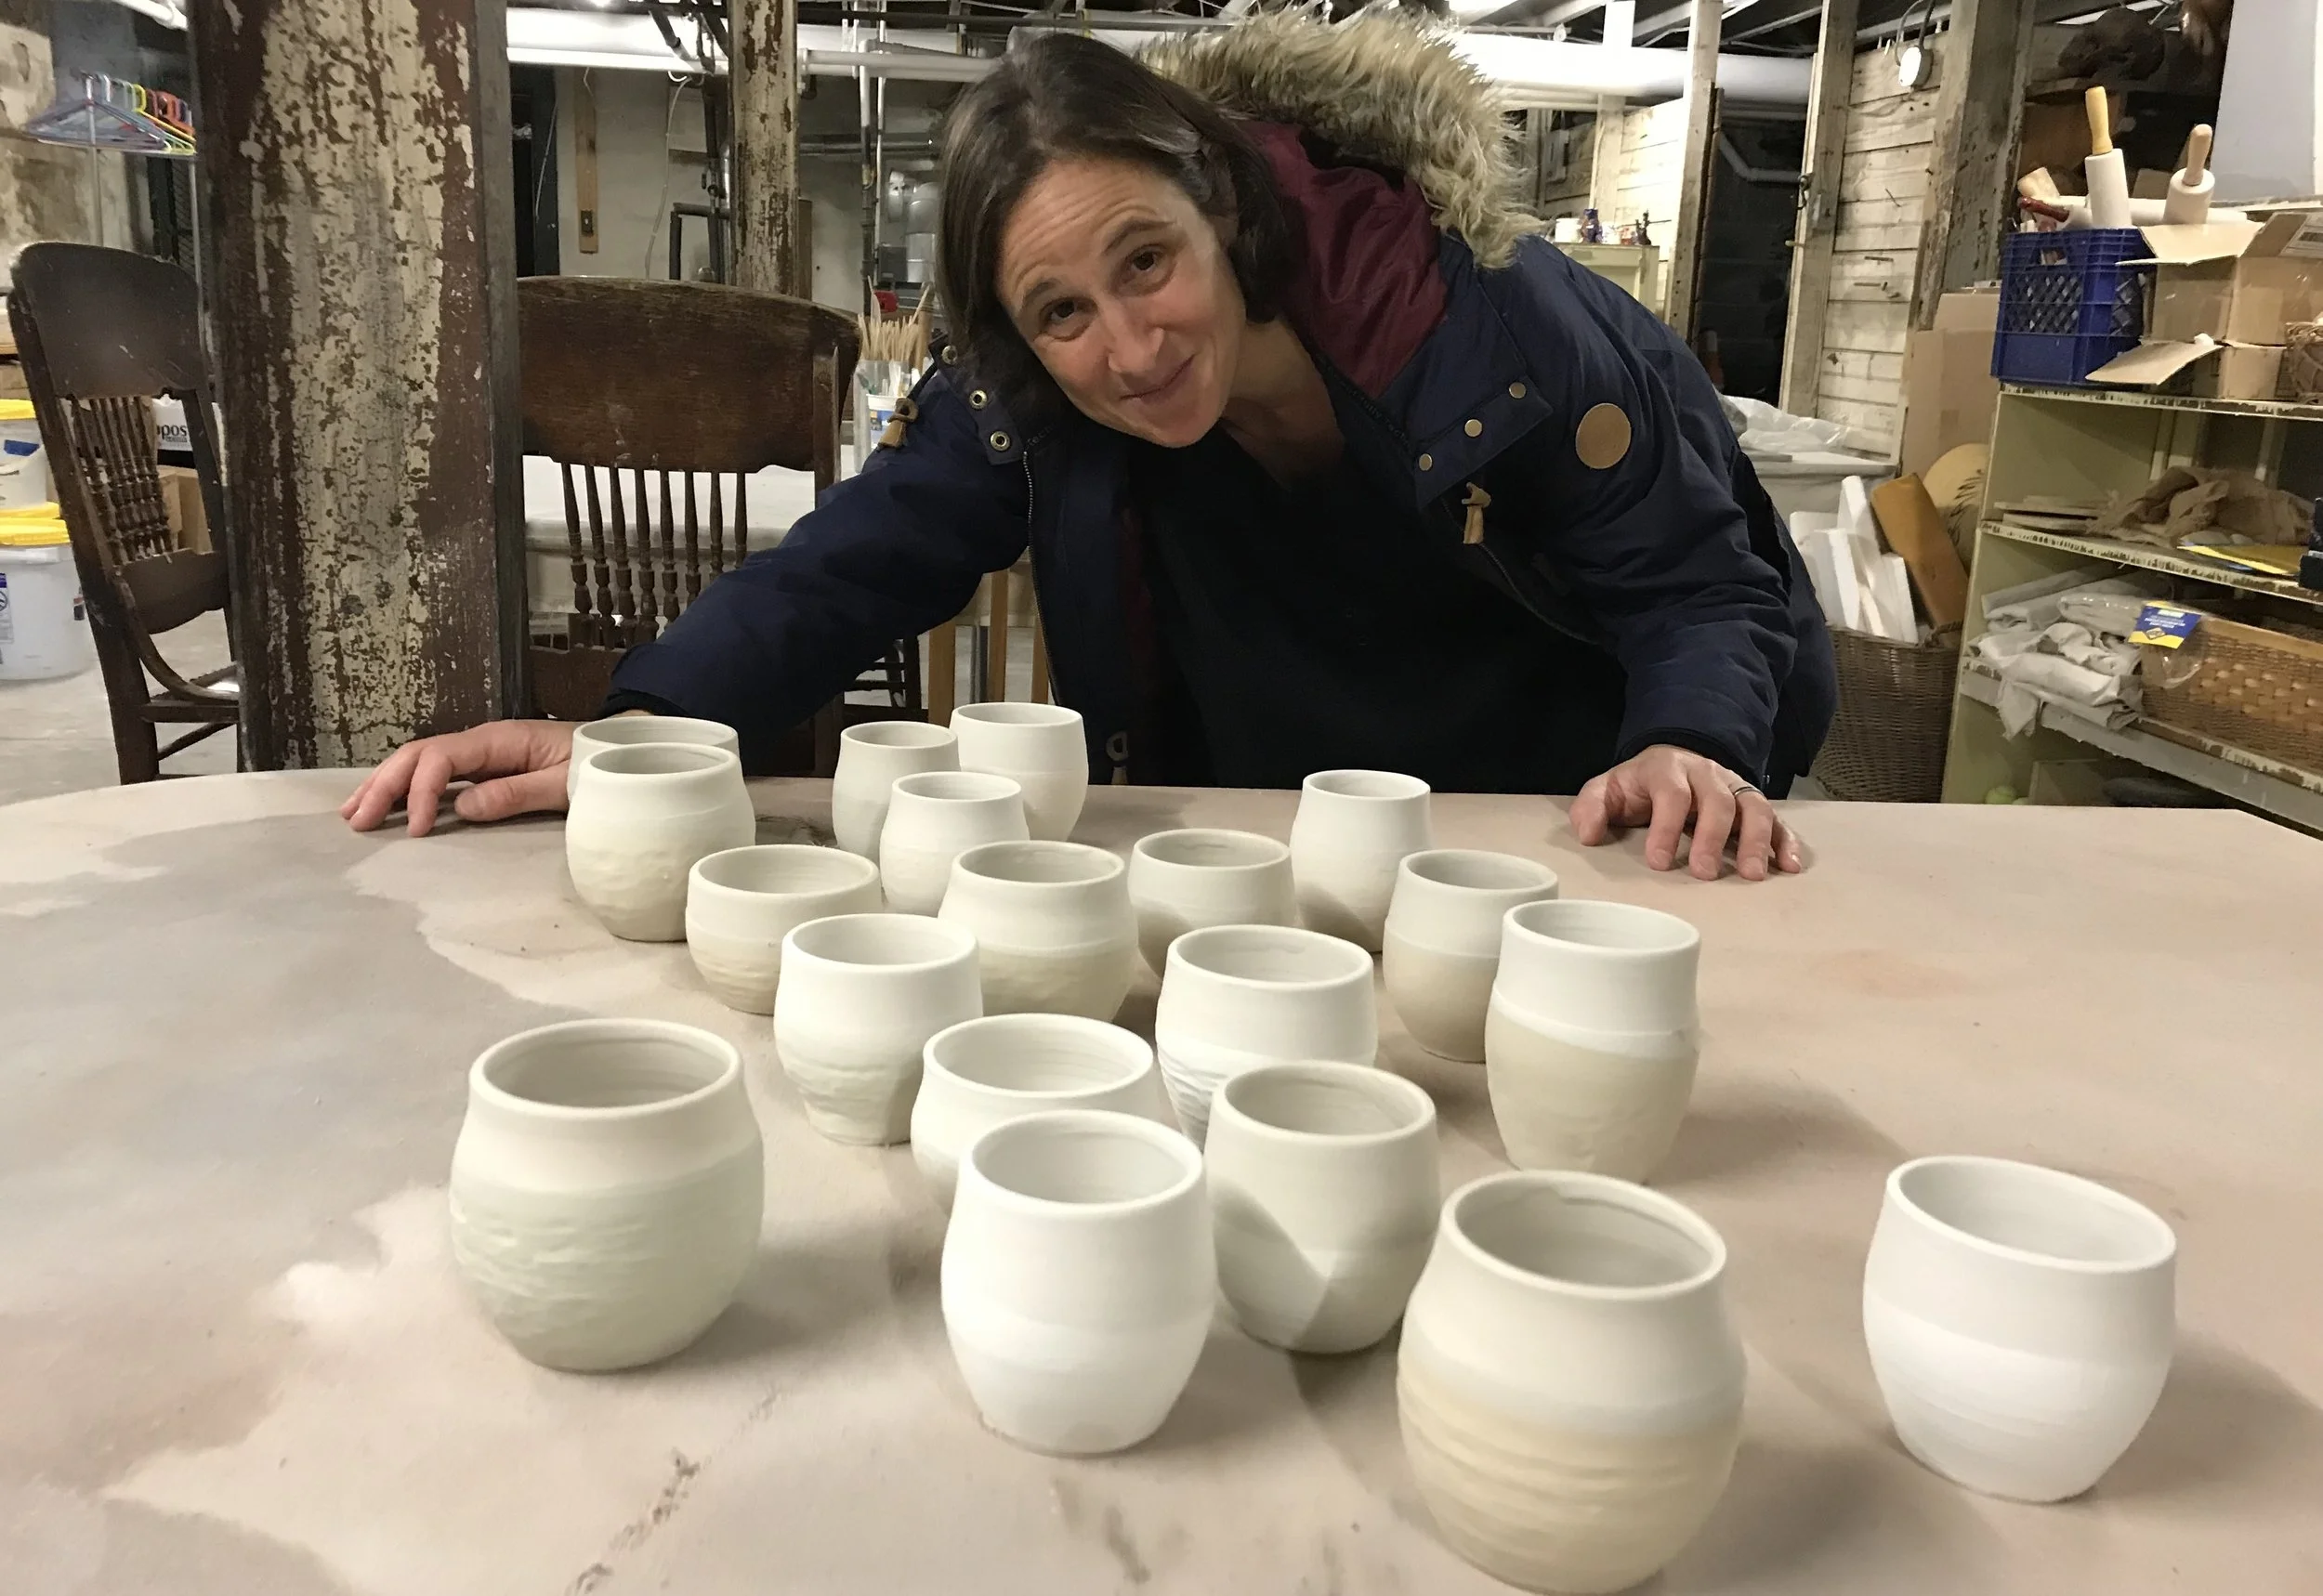
After wedging the clay the next part of the process is to throw the form. Centering the clay is essential. I start pulling initially into an initial cylinder and then transform to the vases.
When I am happy with the final shape I focus on smoothing the outside shape of the pot and rim. After the pot is dried overnight to be leather-hard, I can trim the base for final shaping and refinement.
Drying and bisque firing
The pots need to be fully dried out for several days before their initial bisque firing. I fire the pots for a day at Cone 06 . This process removes any moisture from the clay.
Glazing
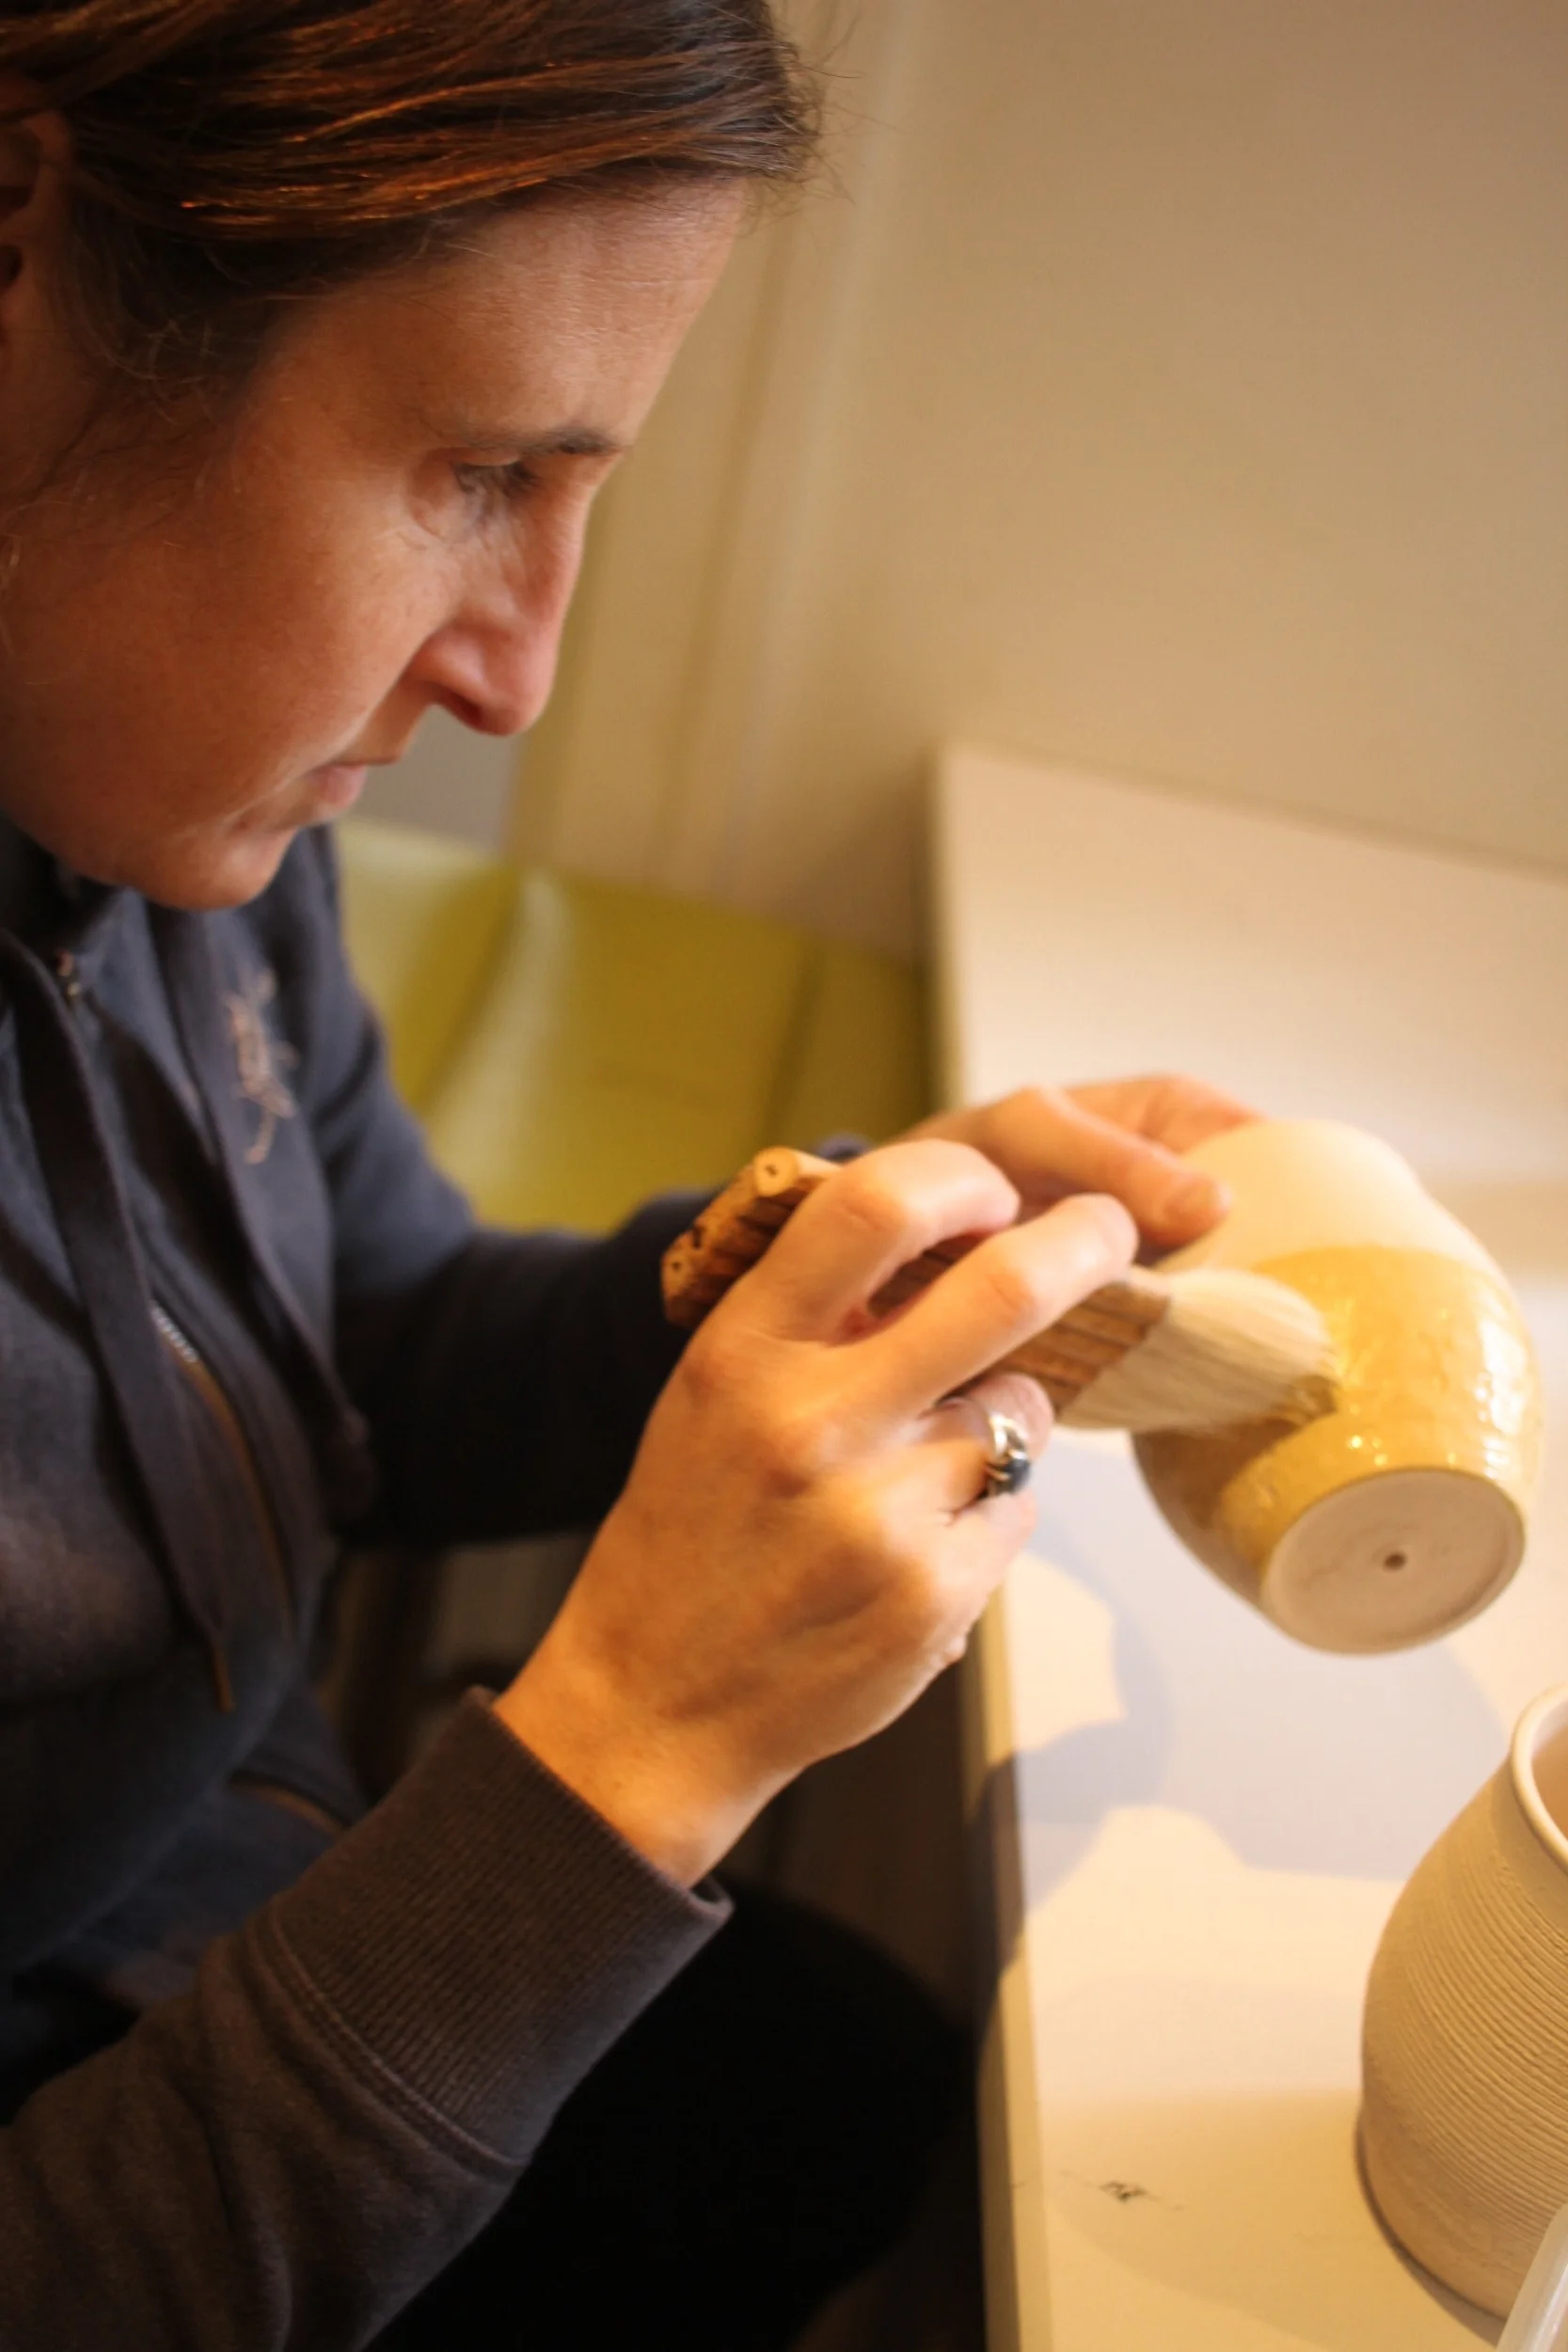
I use a number of different glazes and oxides on my pots, which produce different effects during firing. Oxides produce more solid bands of color and glazes produce a whole spectrum of different colors, patterns and effects.
I use a combination of hand-painted glazes and dipping the pots into larger quantities of glaze.
Raku kiln setup
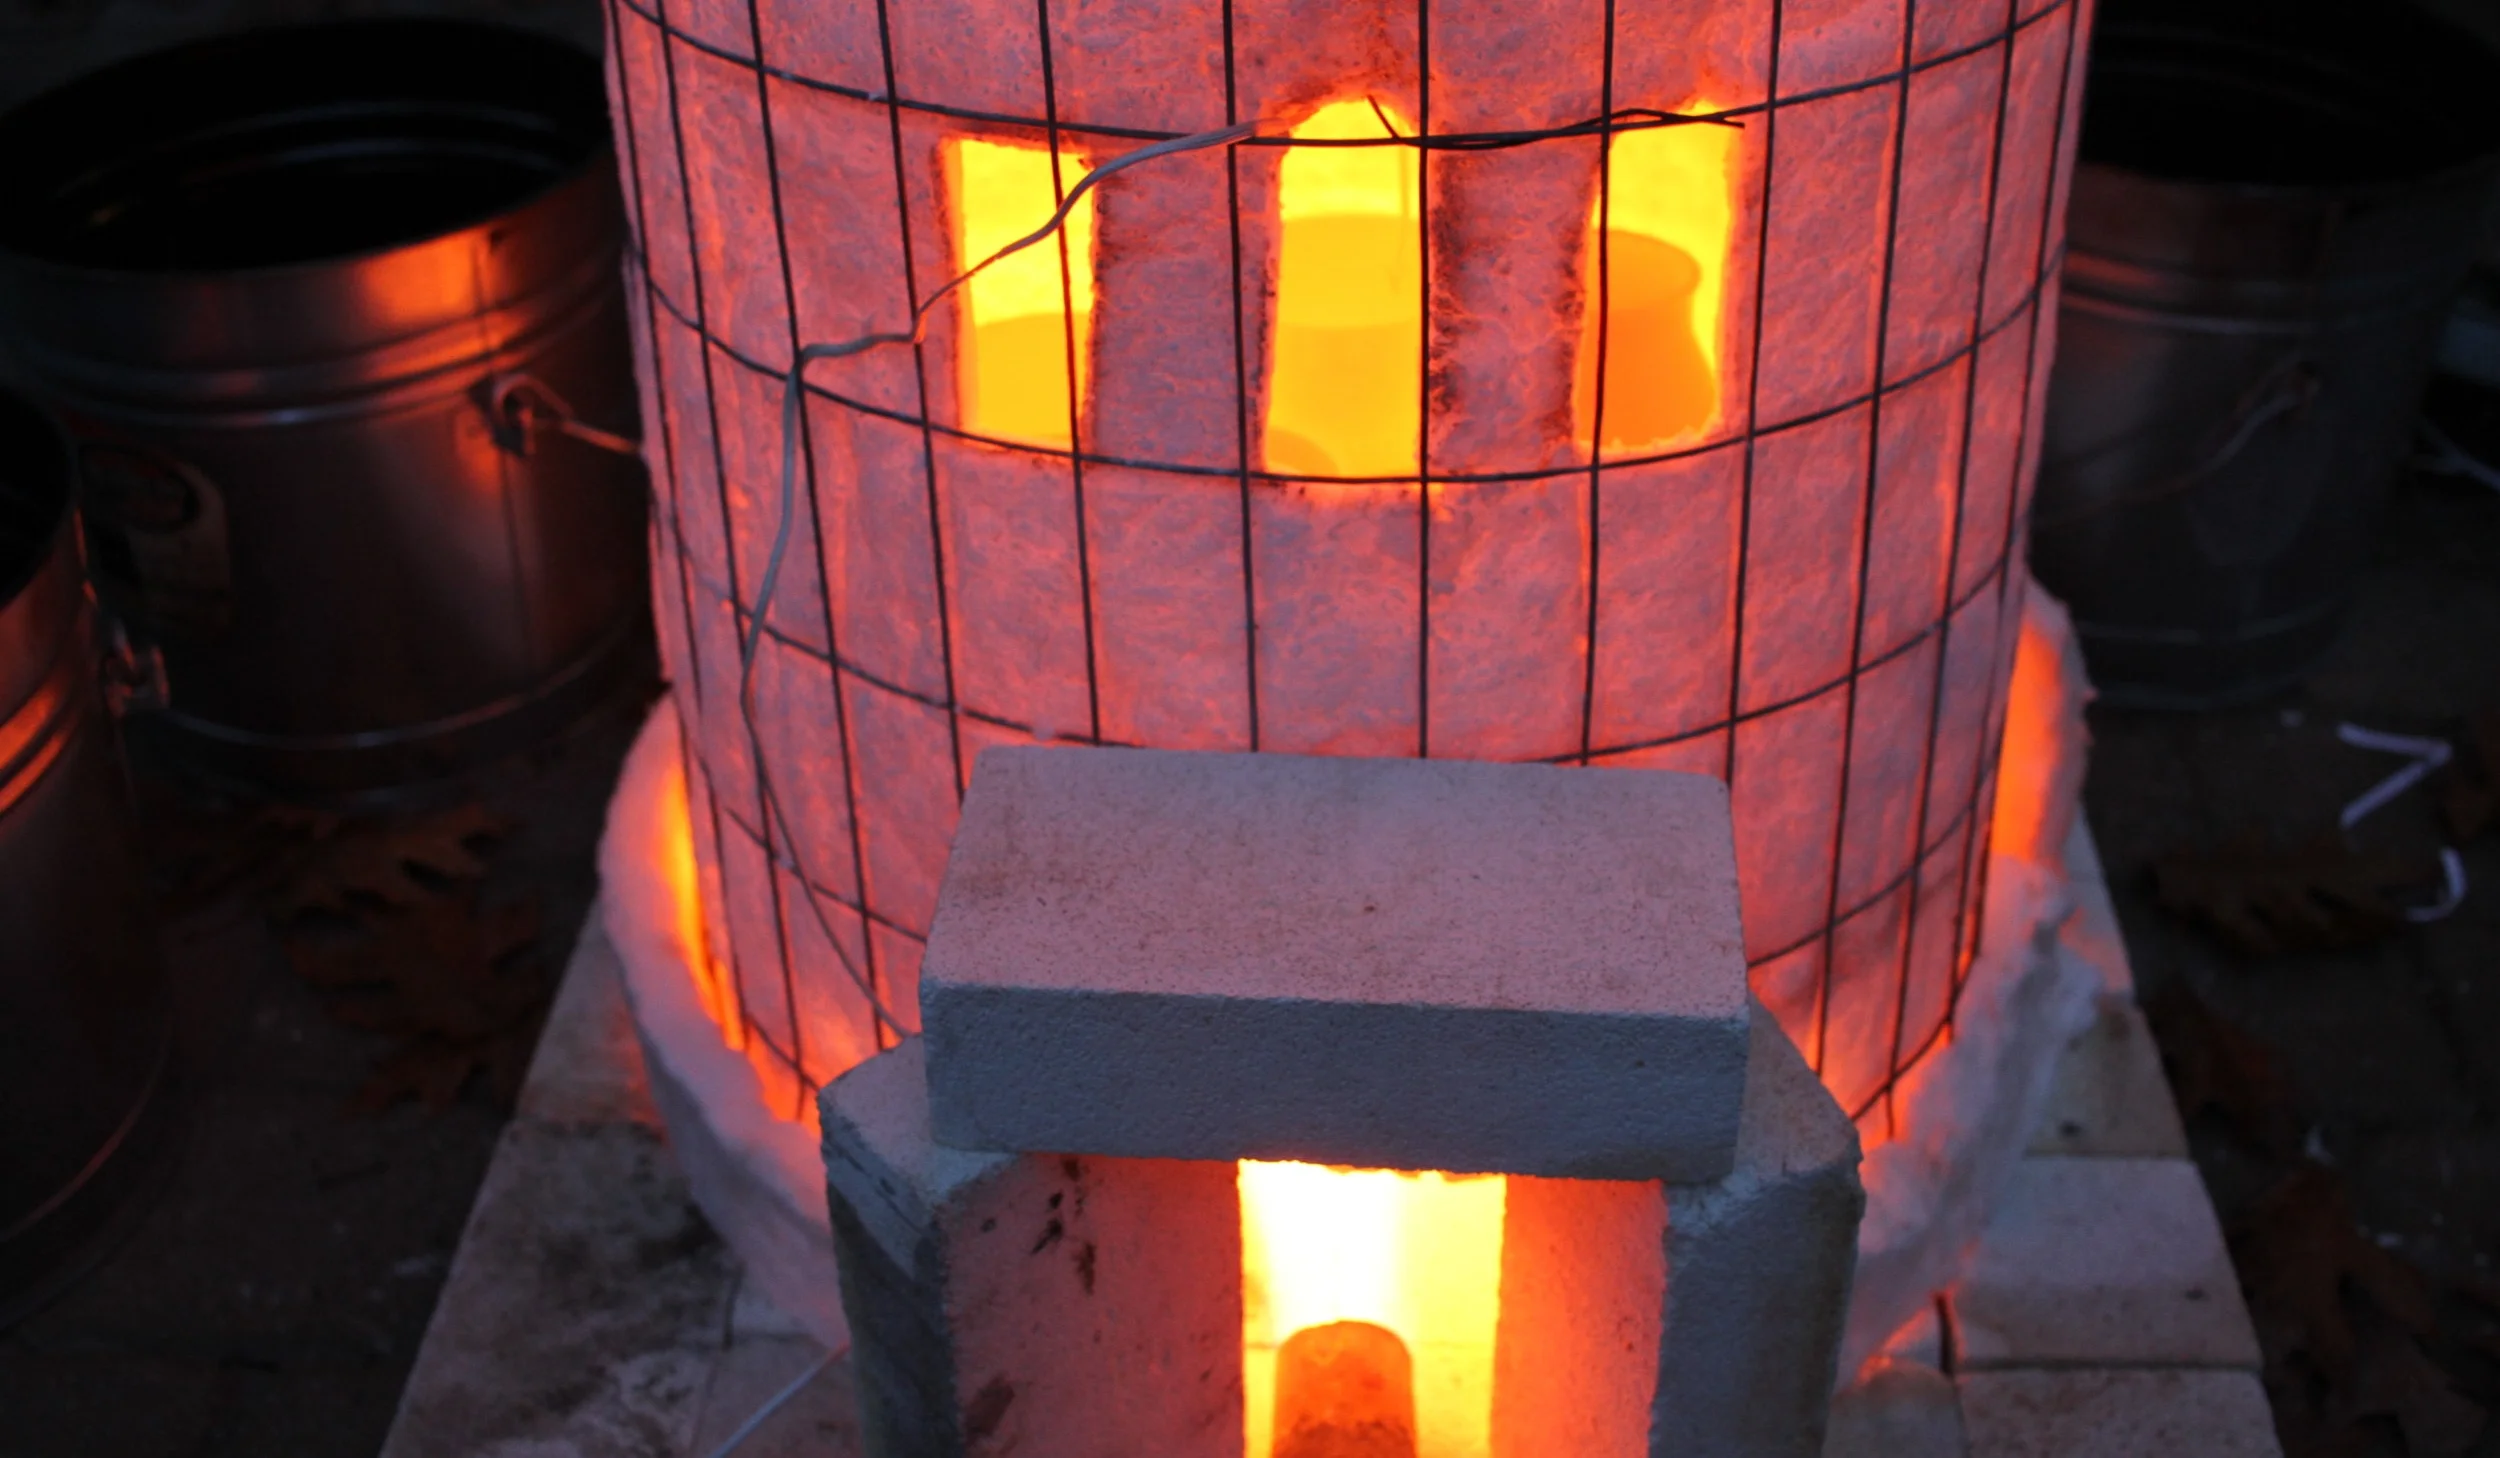
My raku kiln is setup on a base of fire bricks with the pots in the center. It is important that the pots are distributed evenly around the kiln as they need to be removed quickly, later in the process.
Raku firing
It is heated using flame to around 1750°C in about an hour, which is very rapid for pottery firing.
Adding the pots to the combustible material
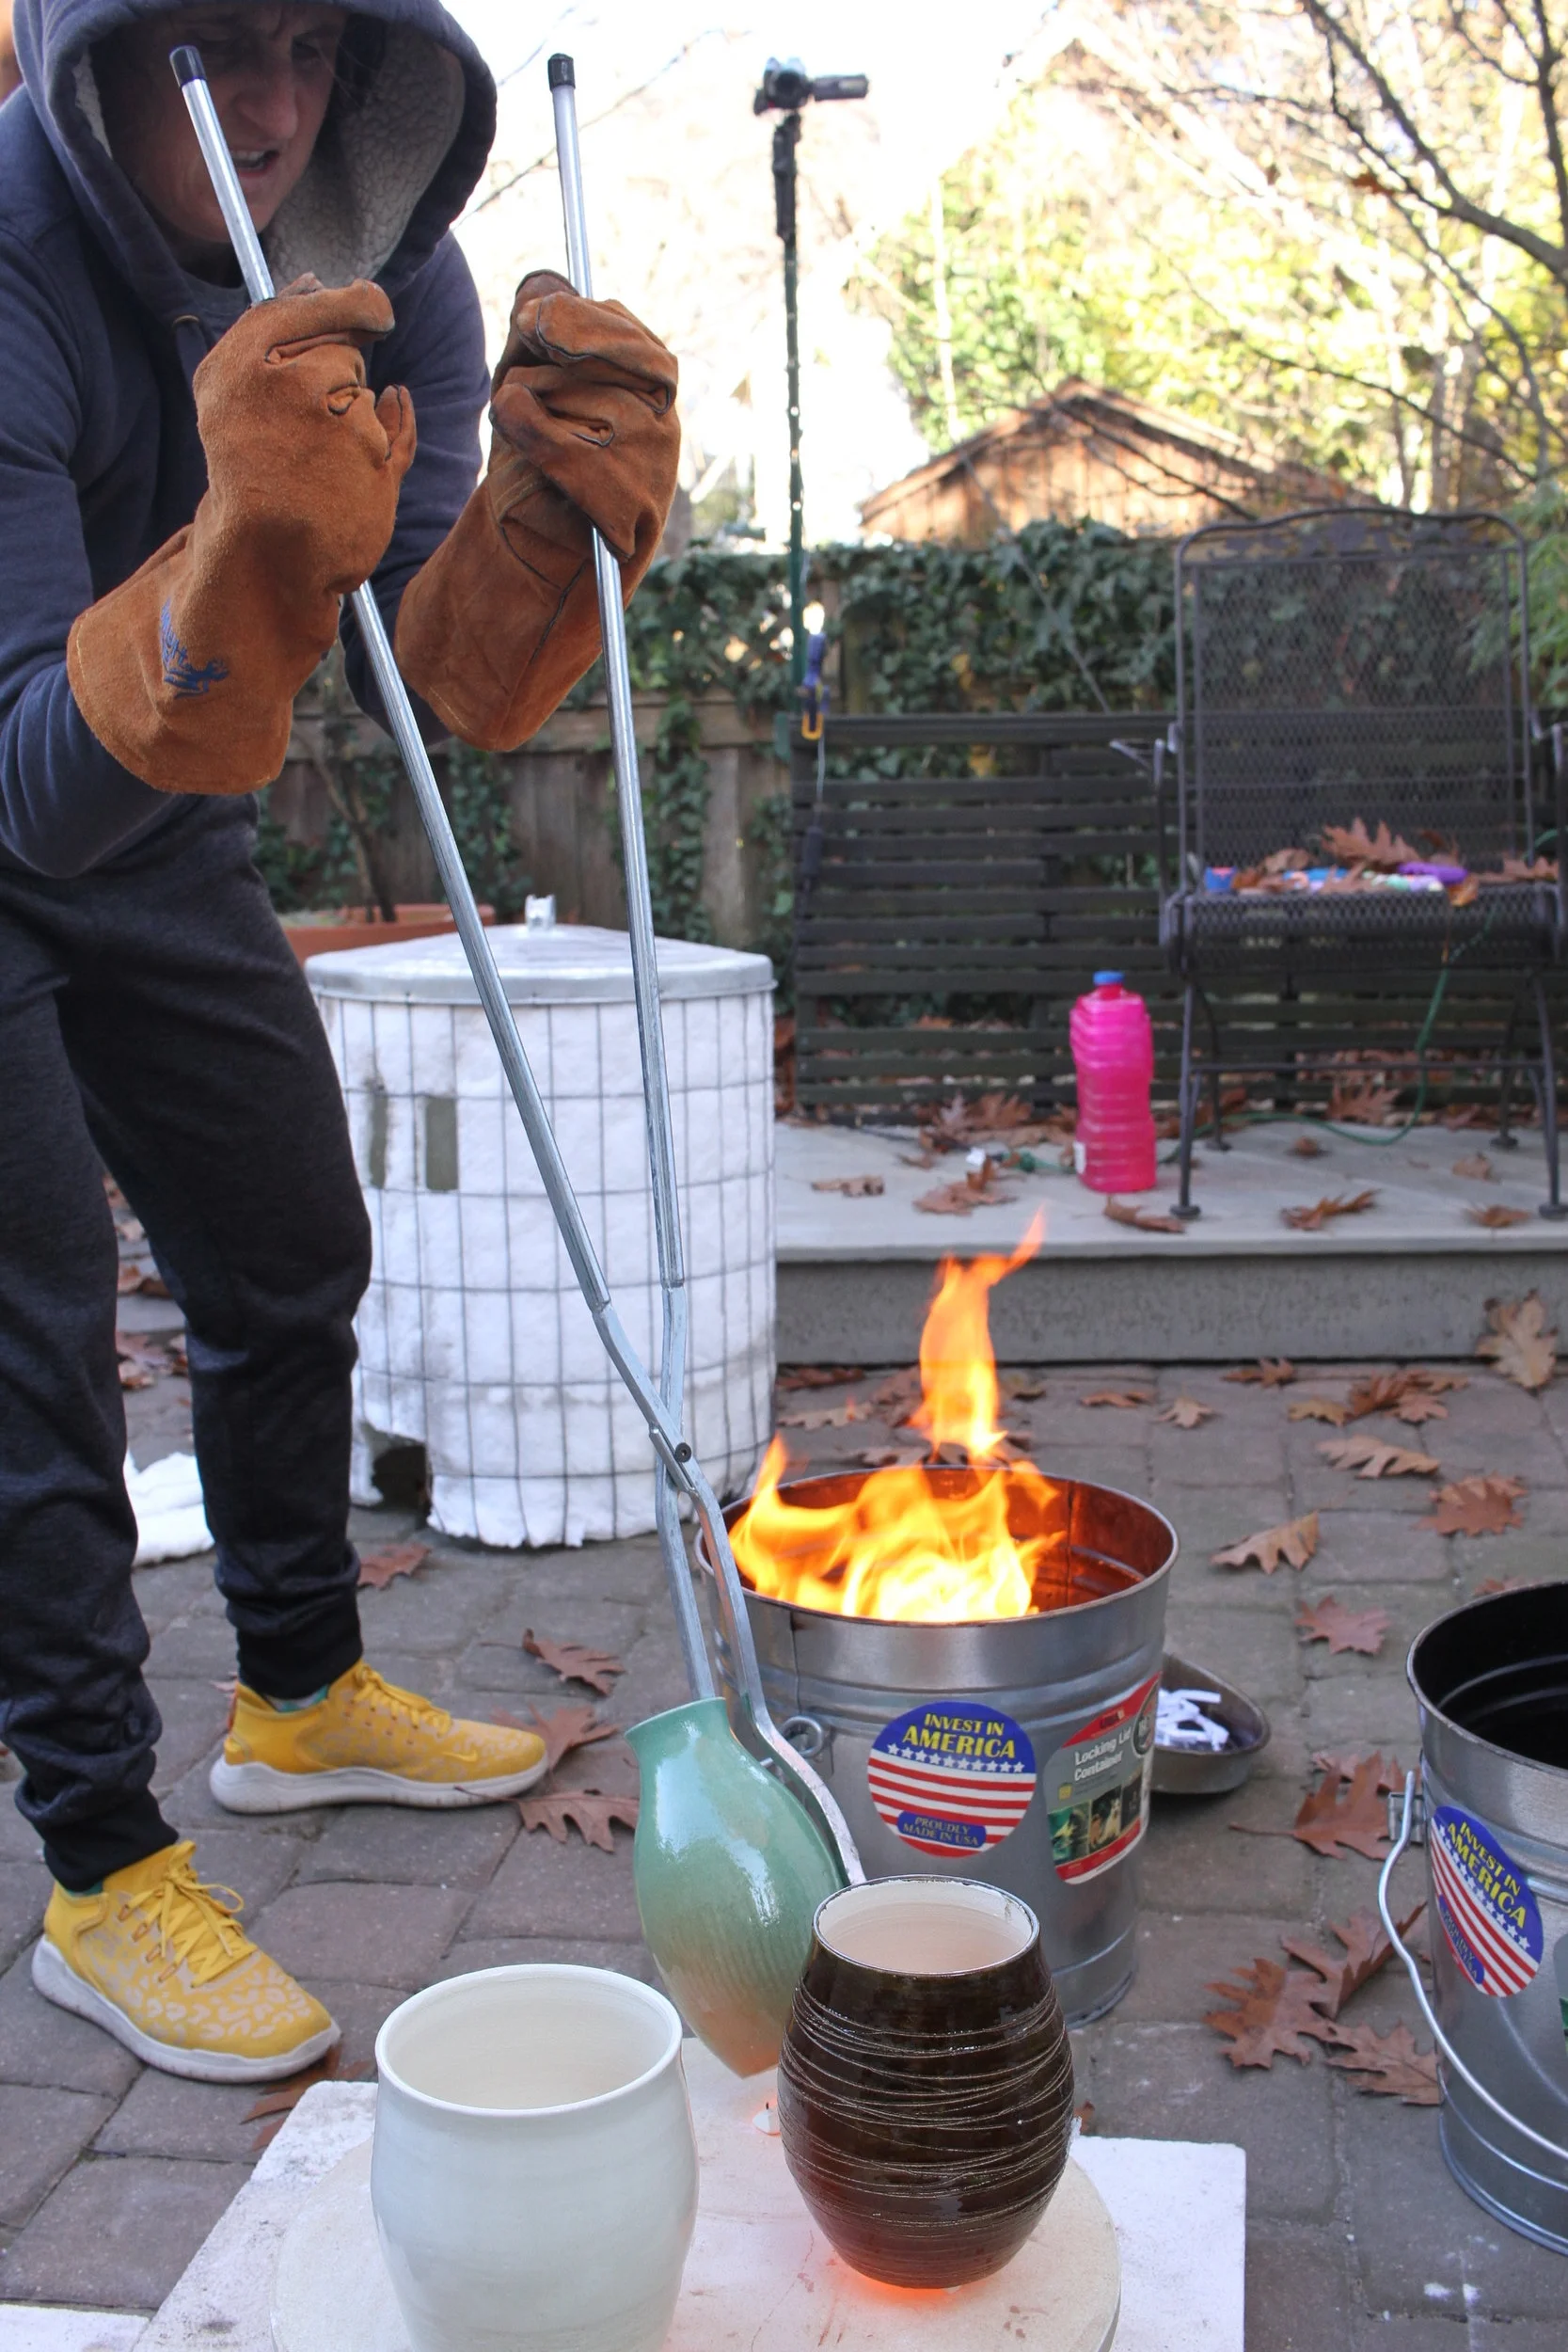
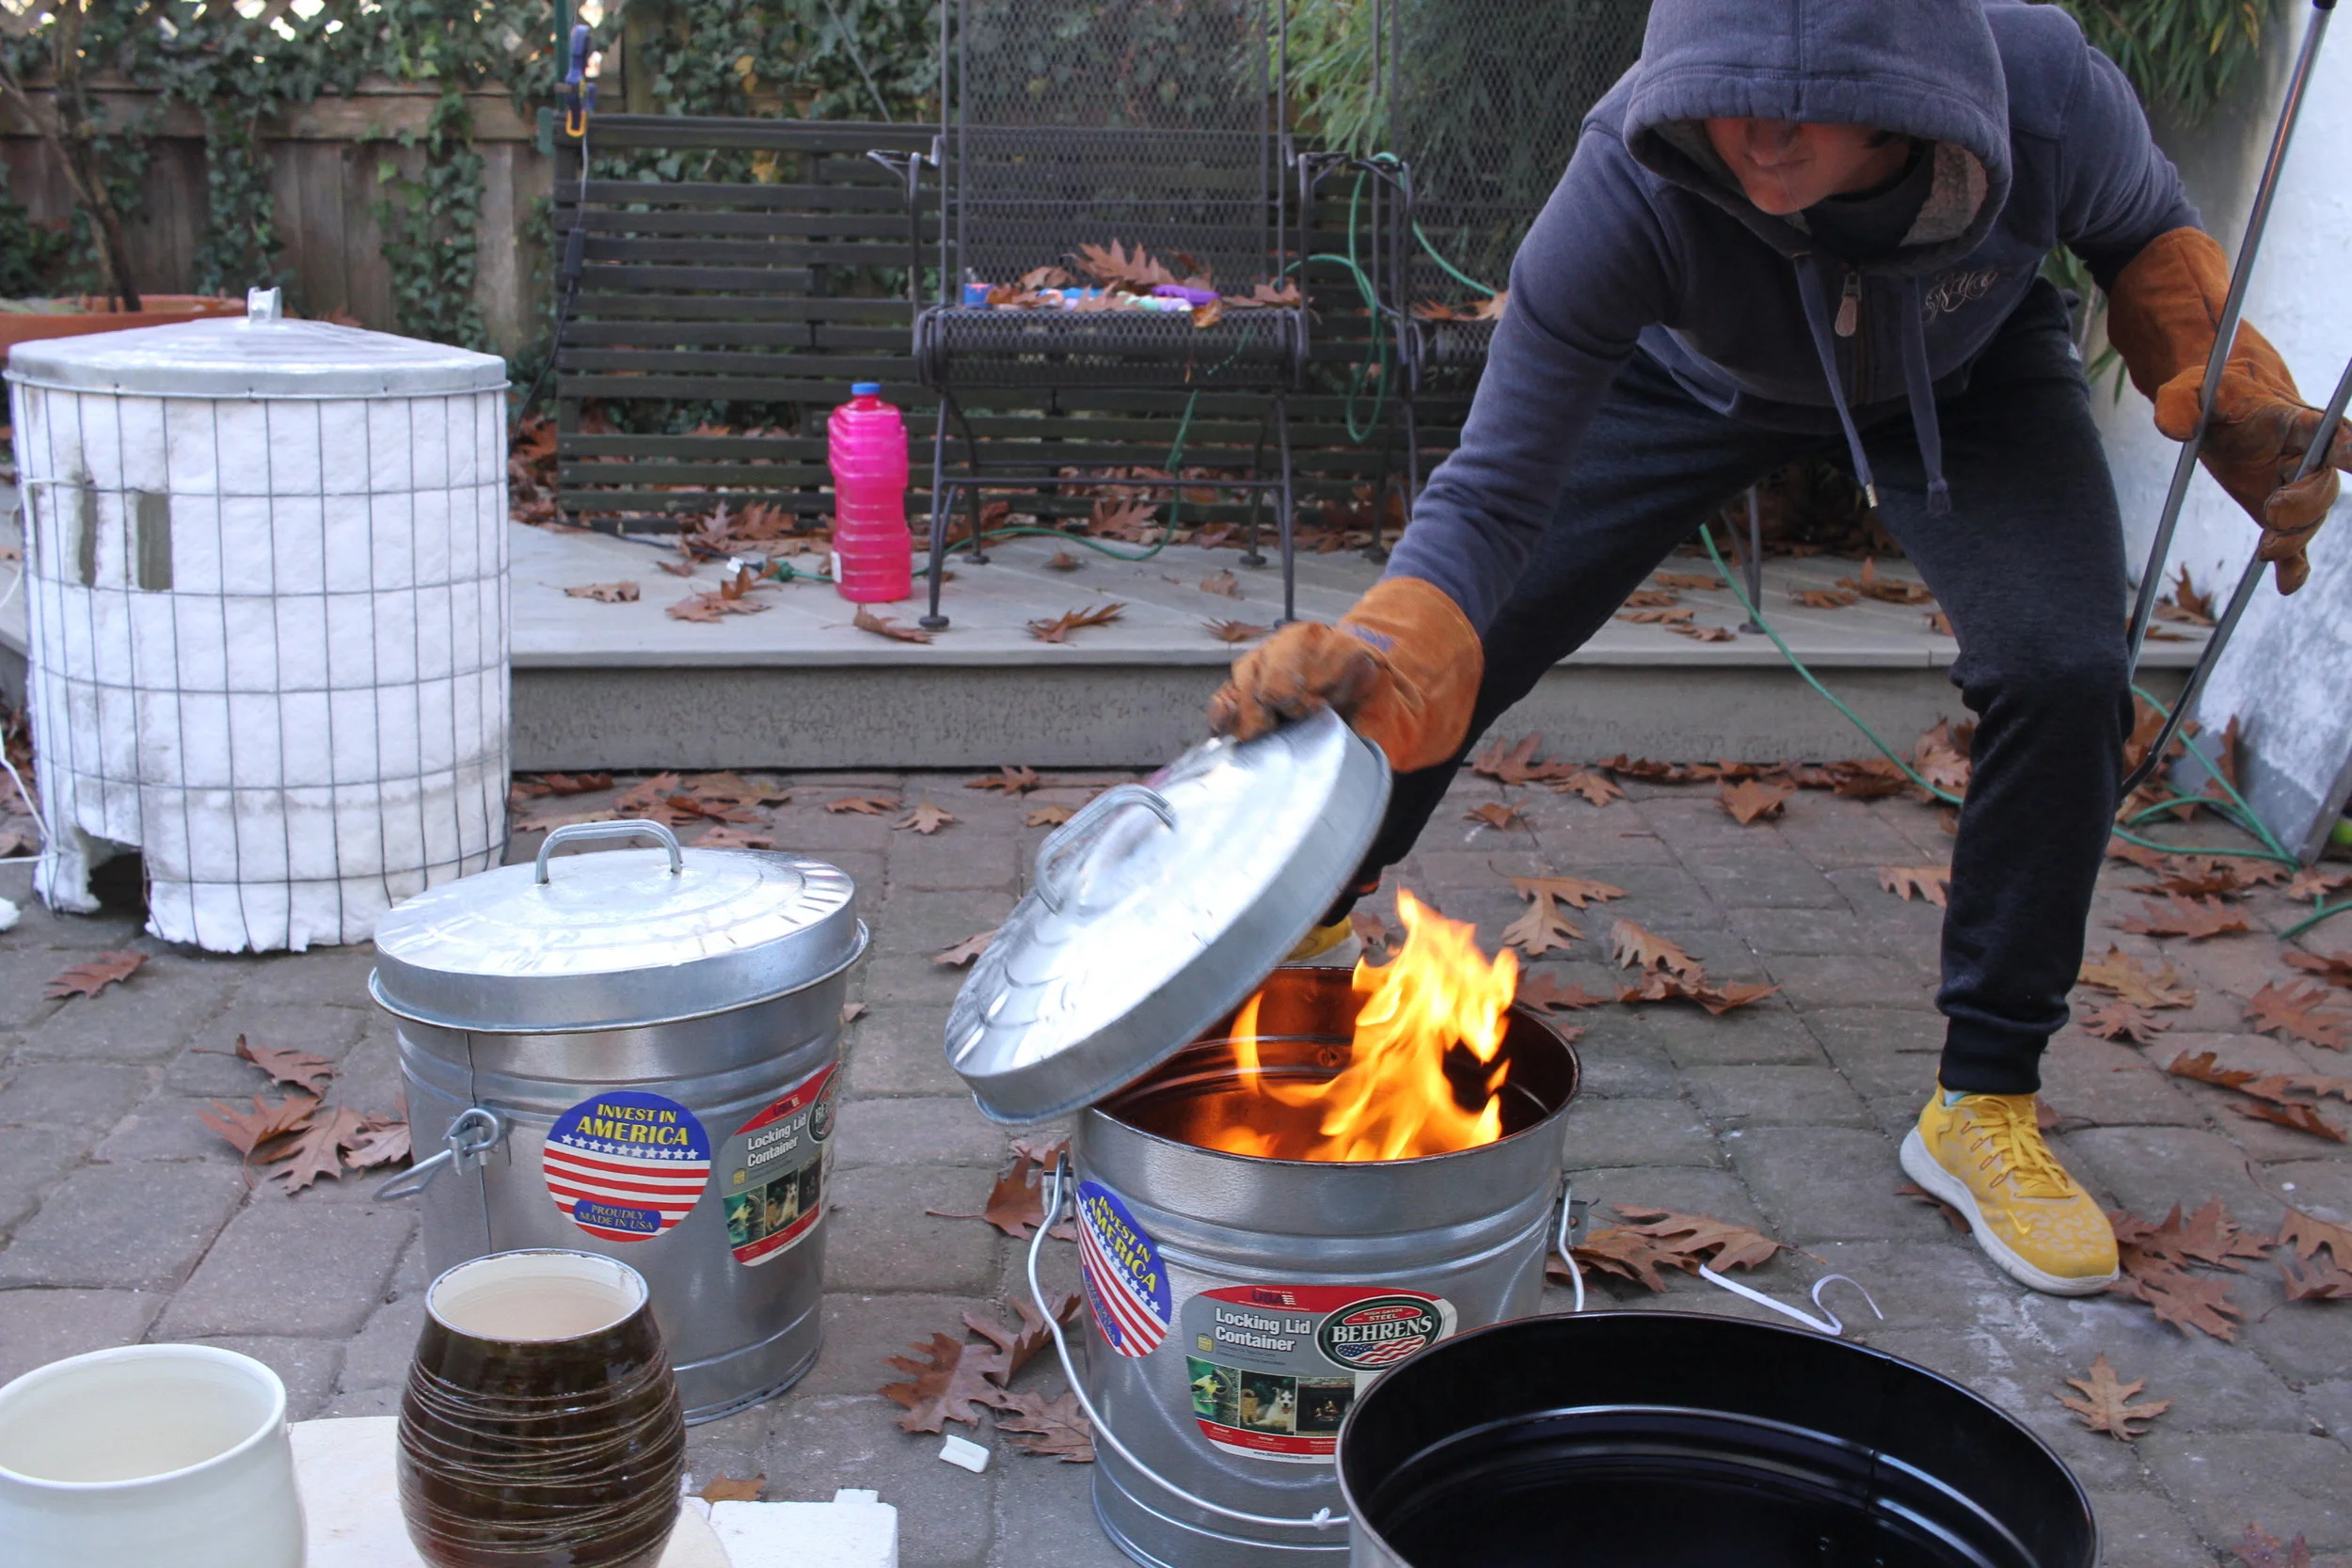
The creation of the many different finishing effects of raku pottery occurs after the pots are removed from the kiln. After removing the kiln lid, the pots are quickly transferred to metal containers that have a layer of combustible material. This material can be anything that burns; dried leaves, strips of newspaper, wood shavings…
Starving of oxygen and fanning the flame
After a fire is started, it is essential to cover the containers with a lid. This starves the container of oxygen and allows the glazes to react in a slow burn that is sustained by the residual heat of the pots. The fire sucks all the oxygen from the glaze and then the chemicals and metals in the glaze start to transform. The pots are left in the container for 15-20 minutes and then taken out. The new air can lead the glazes to continue changing. I then decide to let them continue until they naturally stop or spray water to stop the process.
Due to the number of steps involved in the process, only a few pots can be finished with each firing. I have experimented with more pots but found that they lose heat too quickly to effectively bring about the best colors.
The time the kiln lid is removed to the end of the Raku finishing can be frantic, but it is a lot of fun and makes me very connected to the end result!


